
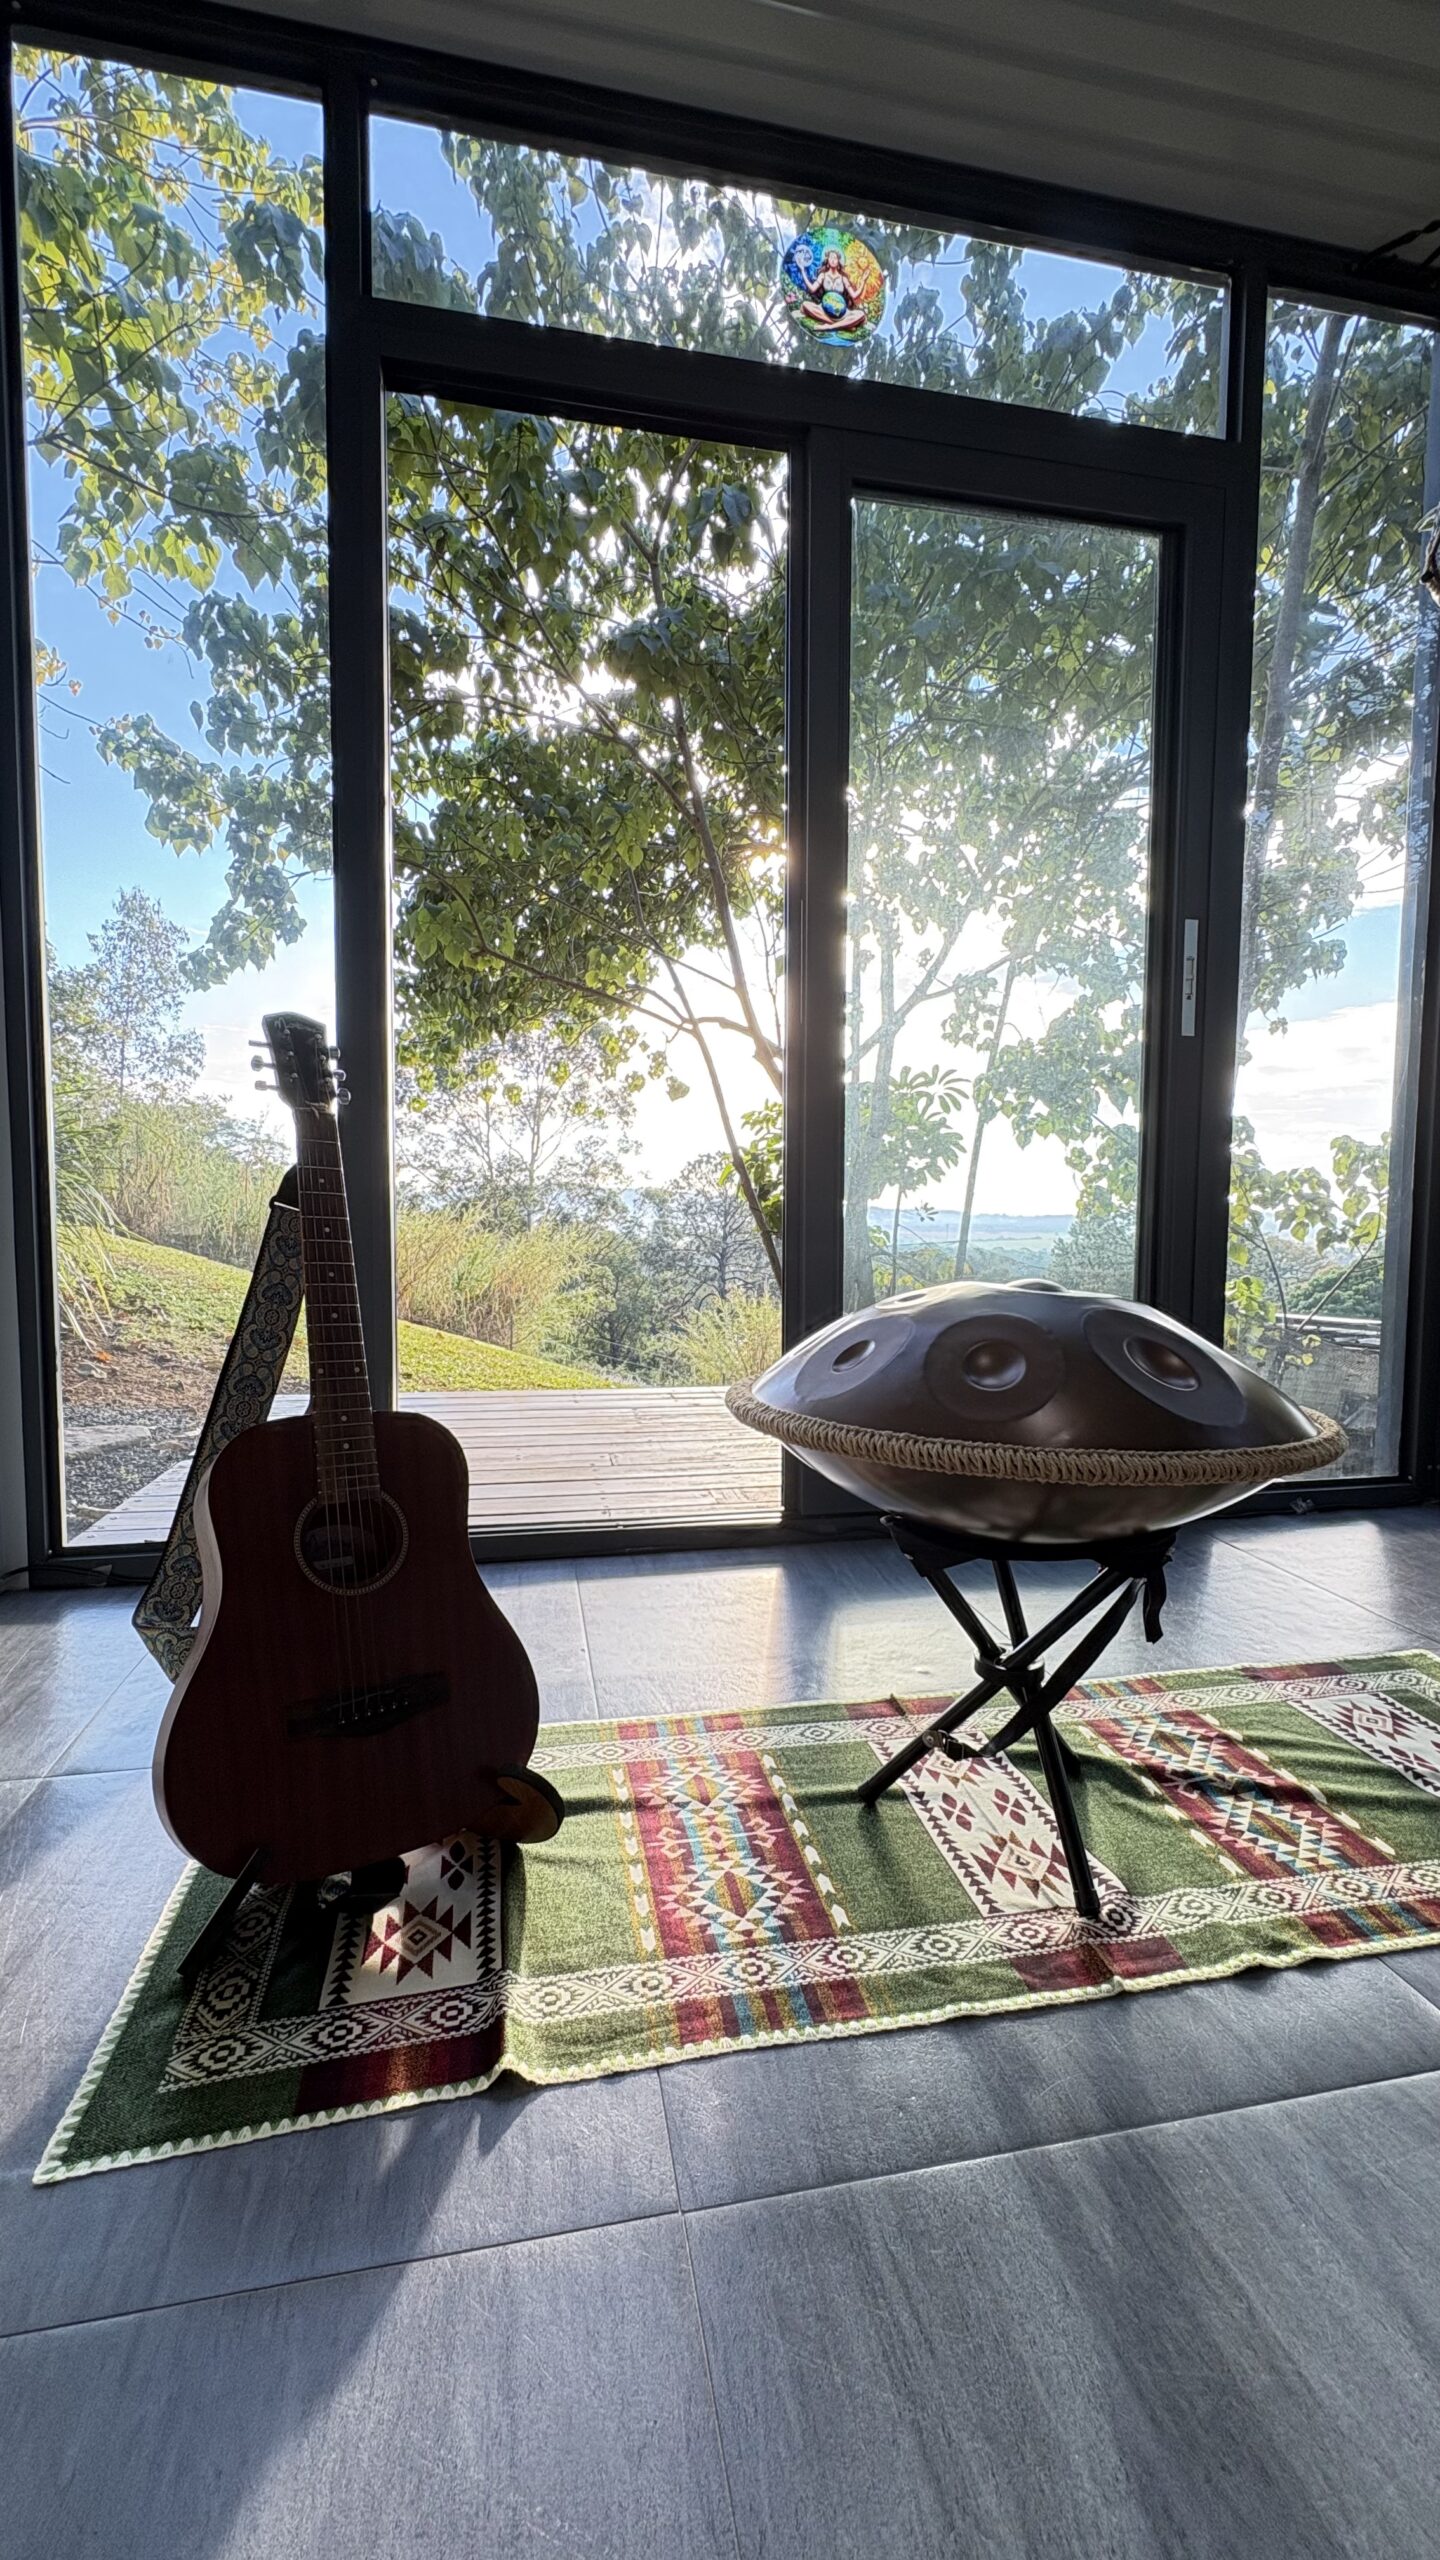
Music Studio Pods Australia
Soundproof Backyard Studios
Your own recording and practice space, out the back door. EPS panel construction and physical separation from the house. From $21,500.
The Case for Separation
Why a Music Studio Pod Beats a Spare Room
Practising music in the spare bedroom means managing two competing needs: you need enough volume to hear yourself properly, and the rest of the house needs quiet. These two requirements cannot be reconciled in a shared dwelling without significant acoustic modification to an existing room.
A backyard pod removes the conflict. The physical distance from the house, combined with the EPS panel construction, means that musical instruments played at an acoustic level does not reach the rest of the house at disruptive levels.
For recording, the isolation from household noise is equally important in the other direction. Air conditioning units, refrigerators, conversation, and road traffic are all audible on a condenser microphone inside a house. In a separate backyard pod, these sources are at significantly reduced levels.
- Physical distance reduces transmission before walls even contribute
- EPS panels perform better acoustically than stud framing
- No shared footprint means no structure-borne noise path from the house
- Can treat the pod acoustically without affecting the house
- Lockable, dedicated space means gear can stay set up between sessions
Acoustic Performance Tiers
Soundproofing Options for Music Studios
There is no single answer to how soundproof a pod can be because it depends on the instruments involved, the volume levels, and how far you go with acoustic treatment. Here are the four main tiers and what each achieves.
Acoustic guitar, vocals, keyboards
The standard EPS wall panels and triple-layered tempered glass provide meaningful sound attenuation relative to a standard stud-framed room. Suitable for acoustic instruments and vocals at normal playing levels without additional treatment.
Electric guitar at amp volume, bass
Adding 50mm acoustic mineral wool panels to the solid wall sections reduces the internal reverb and adds mass to the partition. Suitable for electric guitar at practice amp levels and bass guitar through a speaker. Significant improvement for home recording.
Live mixing, loud rehearsal, horn instruments
A floating floor on isolation pads decouples the floor from the pod structure, eliminating structure-borne vibration transmission. Combined with acoustic panels, this reaches a level suitable for loud rehearsal and professional home recording of most instruments.
Drums, full band rehearsal
A secondary internal frame decoupled from the pod walls, ceiling, and floor creates a true room-within-a-room. This is the highest performing residential approach. Suitable for drums and full band at reasonable volumes. Requires a specialist acoustic builder working inside the pod shell after installation.
No standard pod build is a complete sound barrier for a drum kit at full volume. Even a Tier 4 room-within-a-room will transmit some sound to the immediate outdoor environment. In a suburban block, a drum kit at performance volume will likely be audible to immediate neighbours. If drum recording is your primary use, discuss this at quote stage and consider the room-within-a-room approach combined with scheduling sessions during daytime hours. Our standard music room pod is designed for acoustic sound reduction, not for tiers 2, 3 and 4. The information is provided for your guidance on how to adapt our model to suit your specific requirements.
Internal Treatment
Customising Inside Your Pod
Soundproofing (stopping sound leaving) and acoustic treatment (controlling sound inside) are different things. A good recording space needs both.
Absorption panels
50mm to 100mm mineral wool or Rockwool panels in fabric frames reduce mid and high frequency reverberation. Position on the first reflection points from your listening position and on the walls behind and beside the recording area. This makes recordings tighter and reduces the room sound in microphone captures.
Bass traps
Low frequencies build up in corners. 100mm to 200mm bass trap panels in the floor-to-ceiling corners address the low-end build-up that makes mix translation unreliable. Essential for any studio where accuracy of bass and kick drum monitoring matters.
Diffusion panels
Diffusers scatter sound rather than absorbing it, preserving liveliness in the room while reducing harsh early reflections. Position on the rear wall behind the listening position. A combination of absorption and diffusion produces a more natural-sounding recording environment than full absorption alone.
Floating floor
A platform of dense rubber matting under a plywood sub-floor, sitting on isolation pads rather than directly on the pod floor. Prevents footfall and instrument vibration from transmitting through the structure to the outside. Particularly important for drums, bass amp, and any speaker cabinet on the floor.
Door seals
Acoustic performance is only as good as the weakest link, which is almost always the door gap. A compression door seal kit and a door sweep on the entry door significantly reduces the amount of sound that leaks through the door frame perimeter.
HVAC considerations
A reverse-cycle split-system is audible on a microphone in a quiet studio. Position the indoor head unit where it can be switched off during quiet recording takes. For critical tracking, a heat pump system with silenced ductwork is worth considering for the recording pod specifically.
Studio Electrical
Setting Up Power for Studio Gear
Studio electrical requirements differ from a standard office. Audio equipment is sensitive to interference, and the power supply quality affects what you hear in the monitors. Planning your electrical connection properly before the pod is installed saves significant cost later.
- Dedicated sub-board for the pod on its own circuit from the house switchboard
- Separate GPO circuits for audio gear and lighting to prevent interference
- Star-earthed electrical layout if you are running multiple audio interfaces or outboard gear
- 20A circuit for high-draw monitoring amplifiers or powered sub-woofers
- 15A circuit for the split-system, on a separate circuit from audio
- USB charging points integrated into wall plates near the workstation
- Cat6 ethernet for DAW internet connectivity, sample library sync, and backup
- Dedicated GPO for the HVAC unit so it can be isolated without cutting audio power
Studio Configurations
Recording Studio Layouts
18sqm is enough for a functioning recording studio. Here is how the floor area divides for different use cases.
Singer-songwriter / home producer
Studio workstation (desk, monitors, interface) at one end facing the wall. Recording position (vocal booth area, acoustic guitar mic position) in the middle of the room with absorption panels surrounding. Sofa and headphone station at the far end. Cable management through the floor or behind skirting. Leaves the room feeling open rather than cluttered.
Band rehearsal and live recording
Drum kit on a floating platform at one end. Amp positions with DI points on side walls. Central space for playing positions. This layout prioritises playing together live rather than overdubbing. Acoustic panels on all four walls. Recording interface connects to a laptop rather than a fixed desk, keeping the floor clear for movement.
Podcast and voiceover studio
Treated recording corner with reflection filter or floor-to-ceiling absorption panels. Desk with monitors and interface positioned for near-field listening. Green screen or branded backdrop panel behind the seated position for video recording. This is the most acoustically straightforward layout to achieve a clean, broadcast-quality result.
Electronic music production
Mixing desk or workstation at the centre front. Synthesisers and outboard on side tables. Subwoofer positioned at the front between the monitors. Bass traps in all four corners essential for accurate low-end decision-making. The glass walls are not a problem for production work where no acoustic recording through a microphone is needed.
Investment
Music Studio Pod Pricing
Single studio pod
- 6 × 3m EPS-panel insulated structure
- 8mm bamboo-wood fibre interior lining
- Form 15 certified — RPEQ Registered Engineer
- AS/NZS 1170.2 Region C — 66 m/s design gust
- Triple-layered tempered glass panel walls
- Flat-pack delivery to site
- 6-day professional installation
- Pre-routed electrical conduit
- Structural engineering certificate
Delivery by state
| State | Delivery cost |
|---|---|
| QLD | $400 – $1,200 |
| NSW | $1,500 – $2,200 |
| VIC | $2,200 – $3,000 |
| ACT | $1,800 – $2,500 |
| SA | $2,800 – $3,500 |
| WA | $4,500 – $6,000 |
| TAS | $3,500 – $4,500 |
| NT | $5,500 – $7,500 |
Completed Builds
Real Music Studio Builds
FAQ
Music Studio Pod FAQ
Get Started
Get a Music Studio Pod Quote
Tell us your instruments, your state, and your recording goals. We will confirm site suitability and advise on the acoustic treatment approach. Display at Valdora, Sunshine Coast QLD.
Request a Quote Call 0490 537 205